
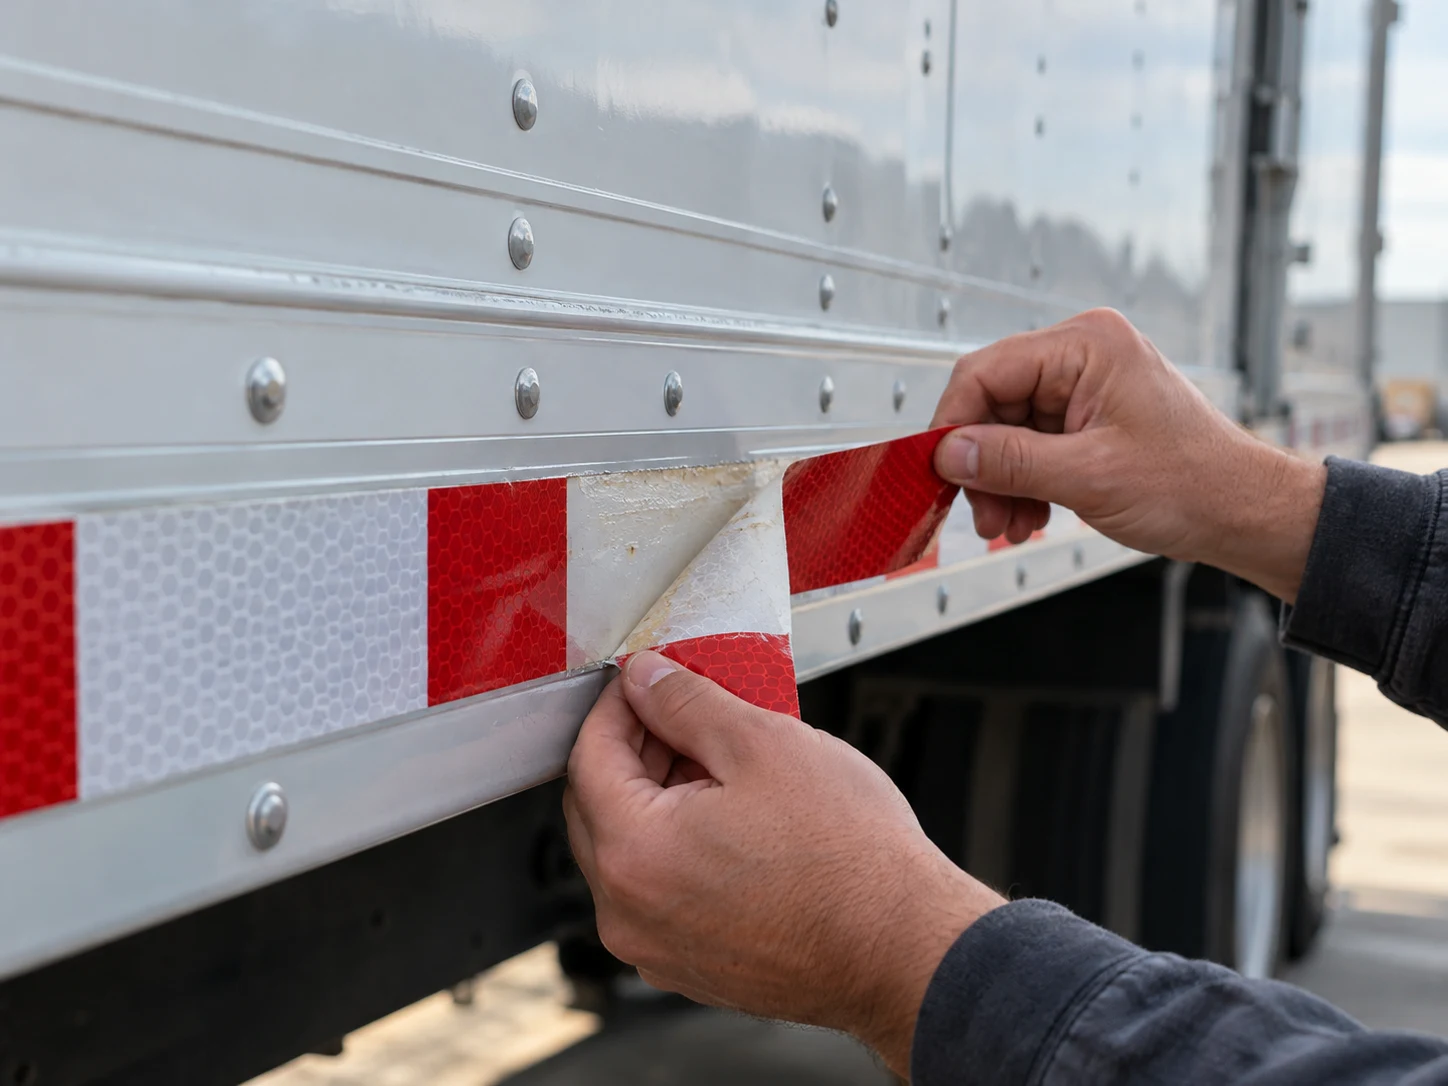
Old, cracked, or faded reflective tape can reduce nighttime visibility. The challenge is removing the tape and adhesive without scratching the surface, lifting the clear coat, or discoloring the paint. With controlled heat, the right tools, and a patient technique, most reflective tape can be removed cleanly without disrupting automotive paint.
When Should Reflective Tape Be Replaced?
It’s time to replace reflective tape when existing strips are peeling, missing, heavily stained, or no longer provide strong nighttime reflection. For regulated commercial vehicles, use compliant replacement tape and verify the required placement for your vehicle.
Choose the Right Method for Reflective Tape Removal
There are a few methods that can work, though some require a more precise technique and come with greater risk of a messy removal.
Many try to use a heat gun to warm the tape for easy removal only to be left with sticky residue once the tape comes off. This method is most effective using the lowest heat setting, constantly moving to avoid overheating a section of the panel. Still, excessively heating the tape, paint, or metal can cause more damage than necessary.
Another option is using an adhesive remover and plastic scraper to loosen the tape and peel at you go. This method typically results in less paint damage and residue, though it requires more patience.
It’s possible to combine heat and solvent, though it’s important to be cautious. Most solvents are very flammable and can cause a fire or explosion when combined with high heat.
Regardless of which method you choose, prioritize material compatibility and careful technique.
What You Need to Remove Reflective Tape
Experts at Briargate Supply have tried different methods to remove reflective tape and recommend the one that leaves the least sticky residue.
Before getting to work, gather all the necessary materials.
- Gentle soap, water, and clean microfiber towels
- Plastic scraper
- Adhesive remover or solvent labeled safe for cured automotive paint
- Protective gloves and safety glasses
Avoid abrasive pads, aggressive heating elements, and untested solvents. These can scratch, haze, or stain the finish on your vehicle. If you opt to heat the tape before removal, choose a hair dryer on the lowest possible setting.
Steps to Remove Reflective Tape Without Damaging the Paint
1. Complete a Patch Test
Test the adhesive remover on a hidden area to ensure it is compatible with the paint on the truck or trailer panel. If the paint is peeling, bubbling, or heavily oxidized, stop and consult a body shop professional.
2. Wash and Dry the Area
Remove dirt, road film, and grit with mild soap and water. Dry the panel completely to ensure you have a clean surface to work with. Cleaning first prevents debris from dragging across the paint during removal.
3. Lift an Edge
Work the scraper under one corner, hold the tool flat against the surface, and use light pressure. Pull toward yourself, and never dig toward the paint. If the edge won’t lift, squirt the solvent behind the tape to loosen it.
4. Peel Slowly at a Low Angle
Pull the tape back over itself rather than straight away from the panel. Work slowly in short sections while applying the solvent or adhesive remover just ahead of the peel line as you go. A low angle pull helps reduce stress on the finish and may leave less adhesive behind. If the tape tears, lift a new edge and continue slowly.
5. Remove Adhesive Residue Safely
If there is still residue after the film is gone, apply more adhesive remover to an absorbent towel and wipe gently. Repeat as needed instead of scrubbing aggressively. Keep the solvent away from heat, sparks, and open flames, and use them only with adequate ventilation.
6. Wash, Dry, and Inspect
Wash the panel again with mild soap and water to remove cleaner residue. Dry it with a fresh towel, then inspect the panel from several angles. If you plan to install replacement reflective tape, follow the manufacturer’s instructions for surface preparation and temperature application.
Common Reflective Tape Removal Mistakes That Can Damage Paint
Even with careful technique, small mistakes can have a big impact.
- Skipping the patch test: Solvents that are safe for one finish may harm another.
- Pulling the tape straight outward: A steep pull can increase stress on the paint or leave more adhesive behind.
- Using metal blades recklessly: Plastic scrapers are recommended because excessive or misplaced scraping can cut through a clear coat.
- Rushing brittle tape: Weathered film often needs smaller sections and extra patience.
- Overheating the tape: Concentrated heat can leave residue at best, and soften paint, distort plastic, or affect composite panels at worst.
- Installing new tape over contamination: Oil, residue, wax, and moisture can weaken adhesion.
Get the Right Reflective Tape for Your Vehicle
Protect your equipment’s appearance and visibility with quality reflective tape, surface-preparation products, applicators, and replacement supplies made for demanding truck and trailer use.
If you need new premium DOT-approved reflective tape, Briargate Supply can help you choose the right rolls. Contact our team today to discuss our conspicuity tape options for your industry-specific needs.